
Highline News · Adventure Park guide
Beginner to Expert: How to Progress Through the Adventure Park's Four RoutesTwo levels, four routes from easy to very hard, 60+ elements in the oaks — and a sensible order to take them in.
Most ropes courses give you one loop and call it a day. The Adventure Park at Highline Adventures in Buellton is built differently: a treetop course in an old-growth oak forest with two levels, four routes from easy to very hard and 60+ elements, so a first-timer and a seasoned climber can both finish the same two-hour trek saying it was exactly challenging enough. Knowing how the routes stack up — and which one to start on — makes the whole visit better.
The short version
The Adventure Park at a glance
This guide explains how the Adventure Park is laid out, which of its four routes to start on, when to move up, and how to earn the hardest one — on a single trek or across return visits. The numbers that matter:
The layout
How the Adventure Park Is Structured
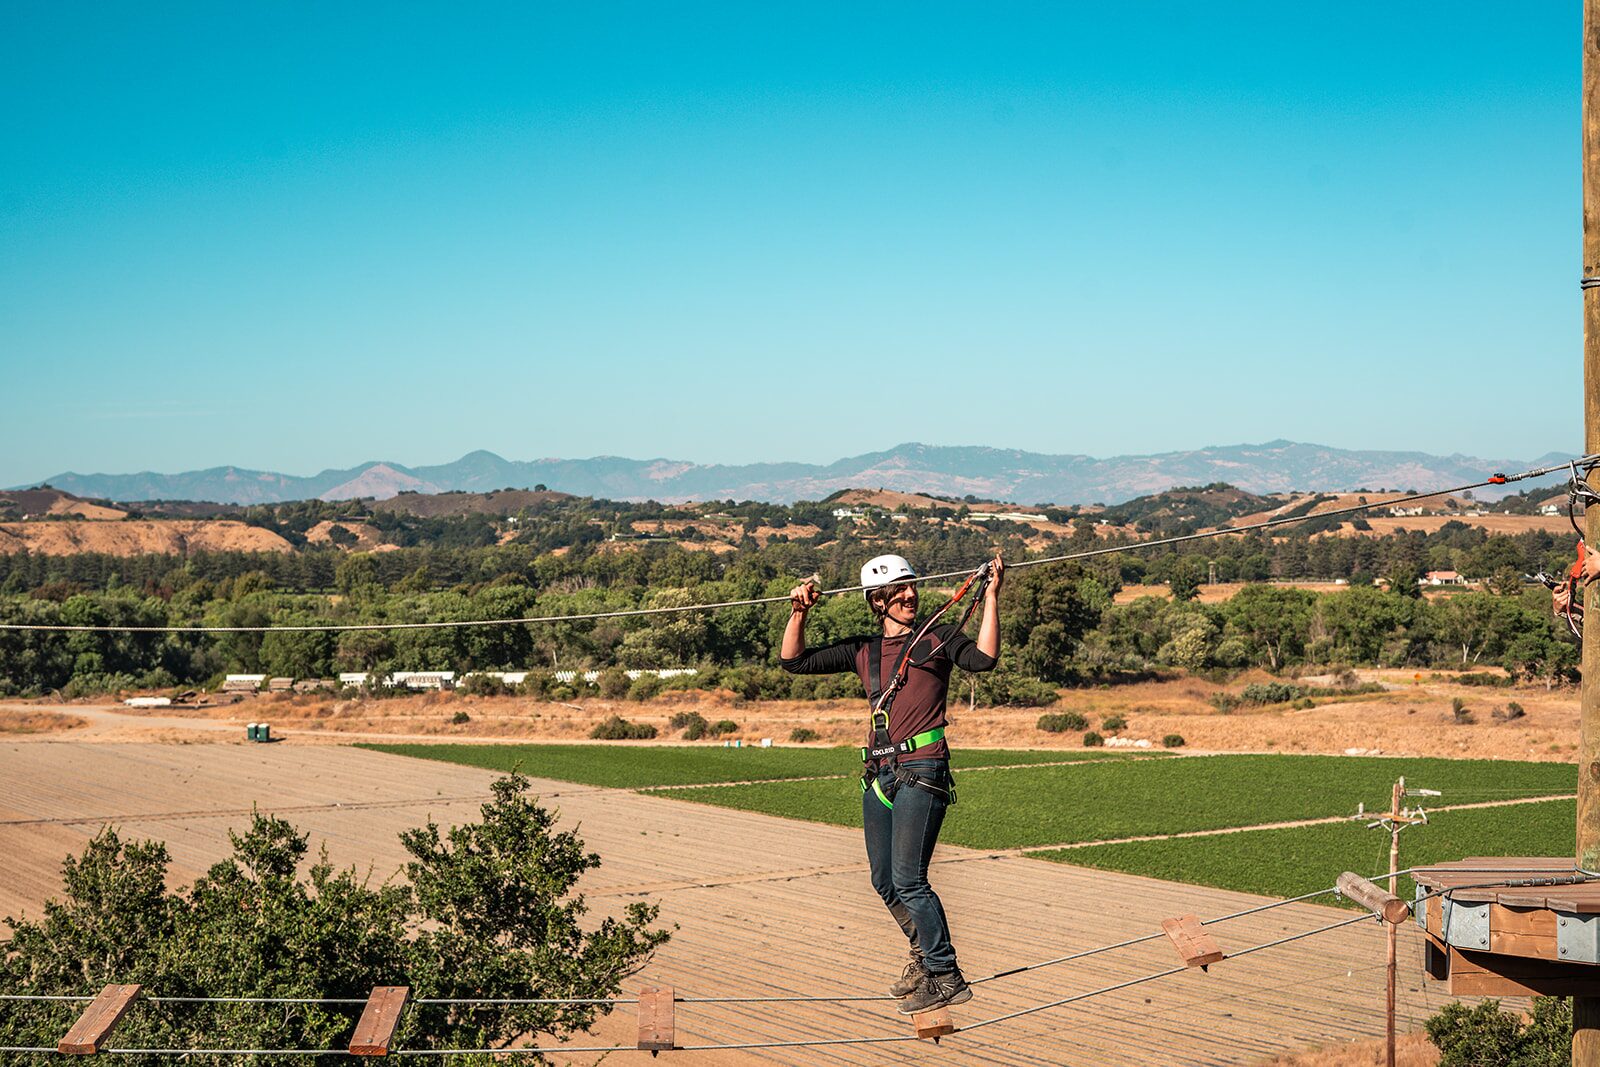
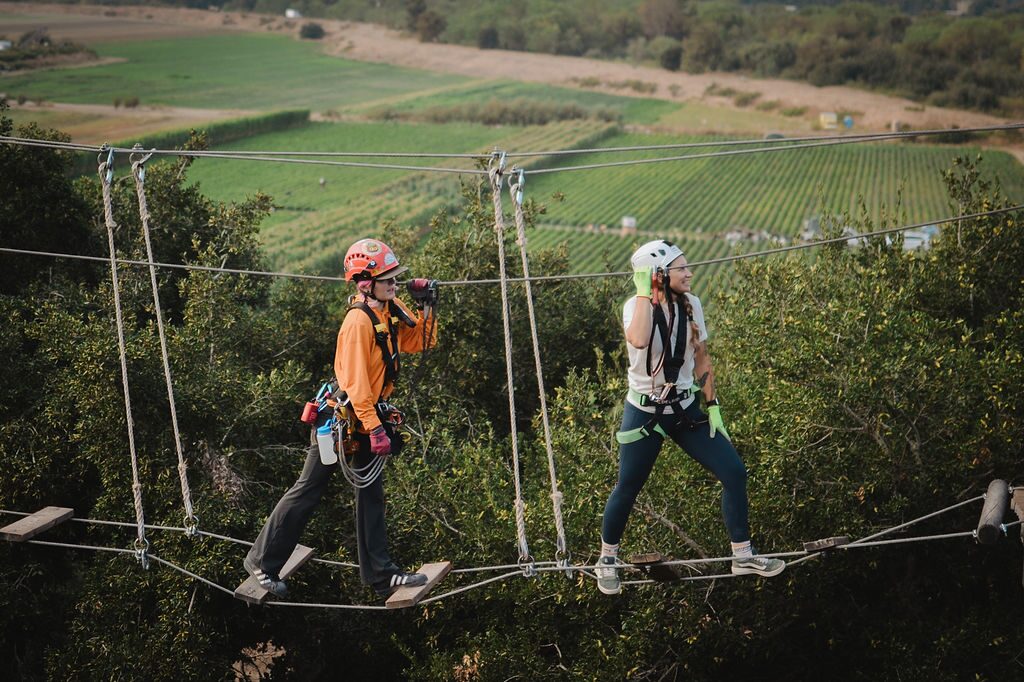
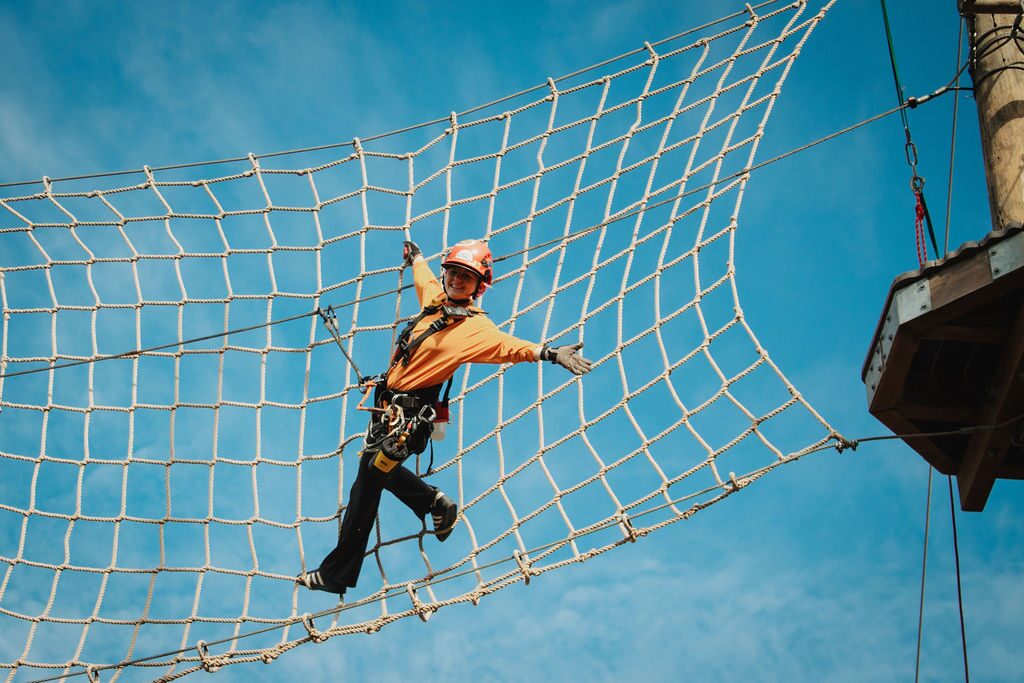
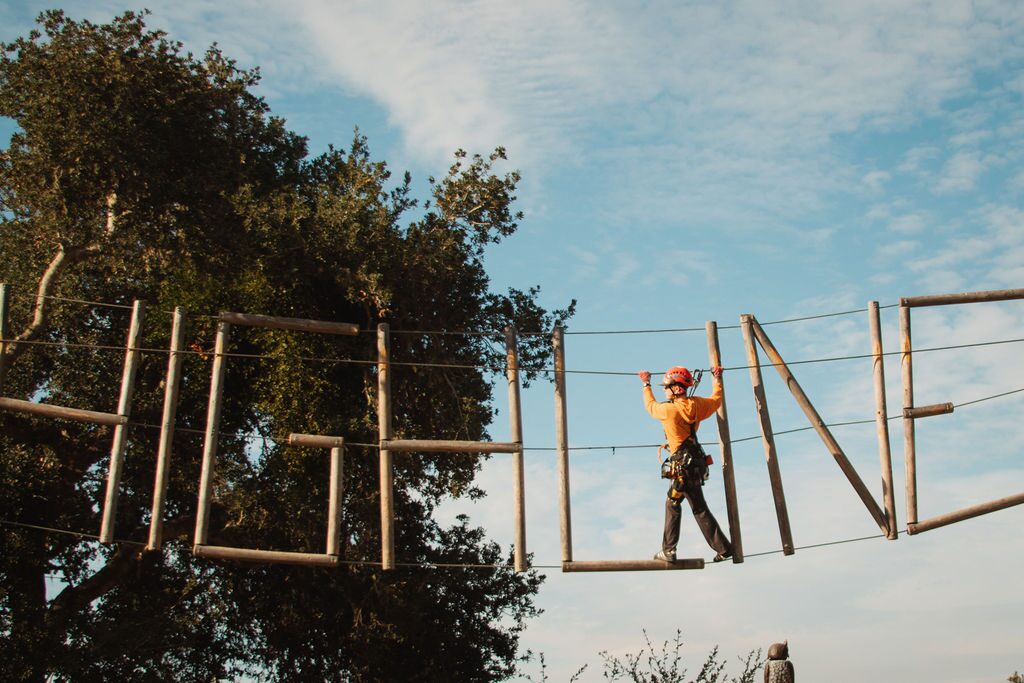
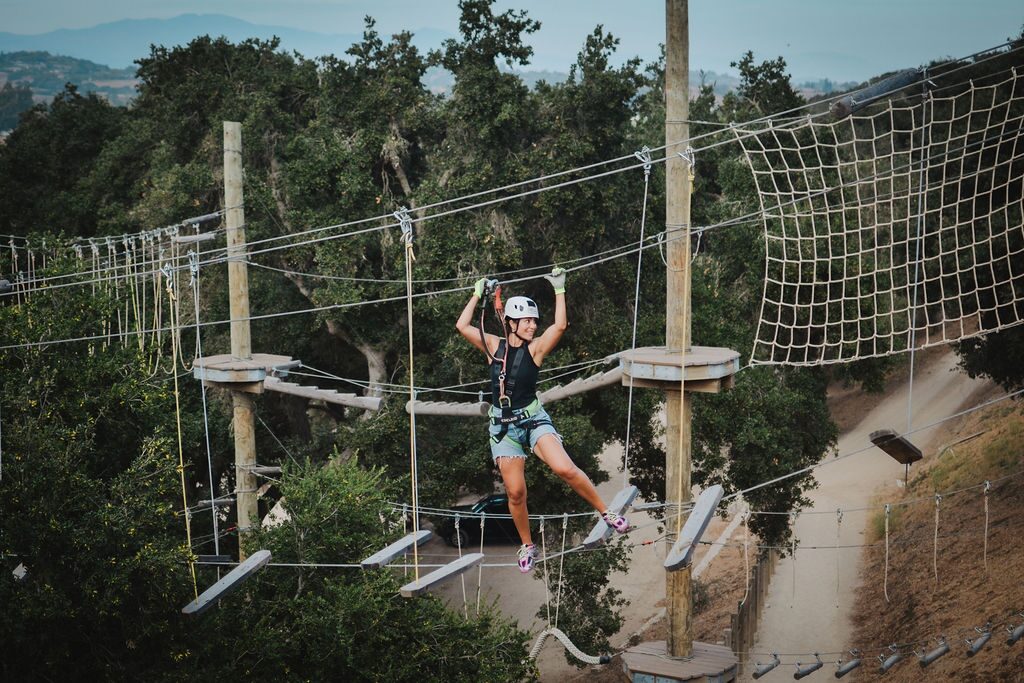
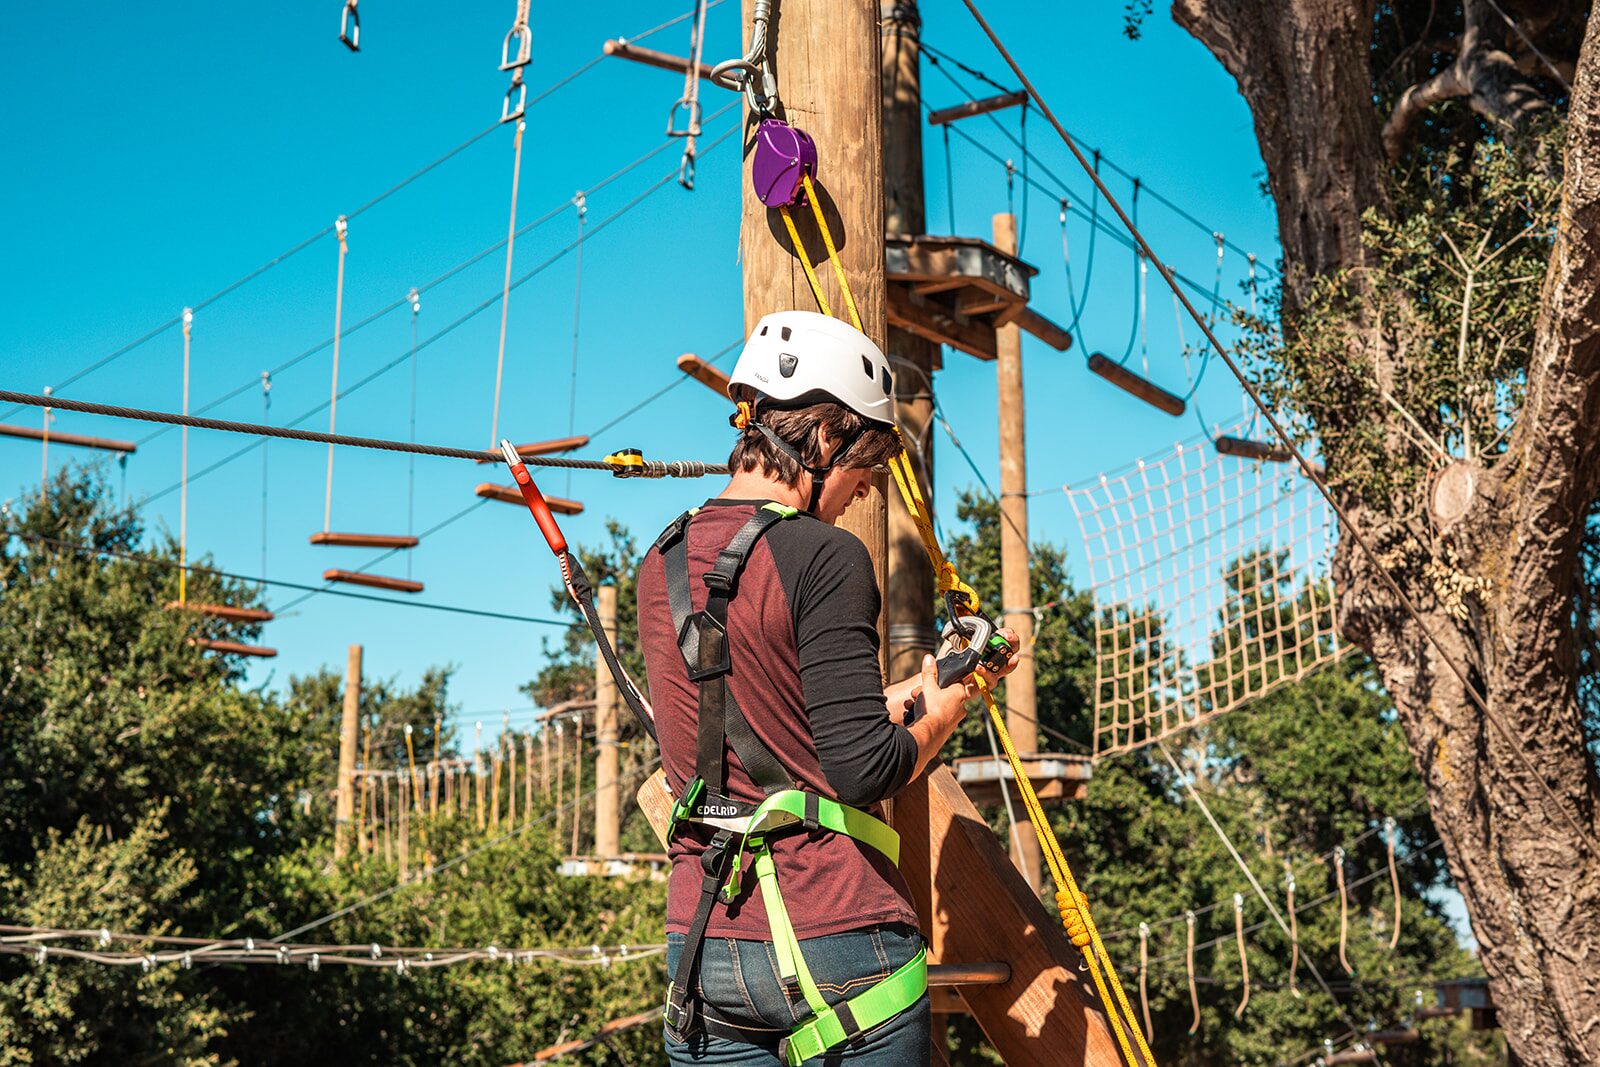
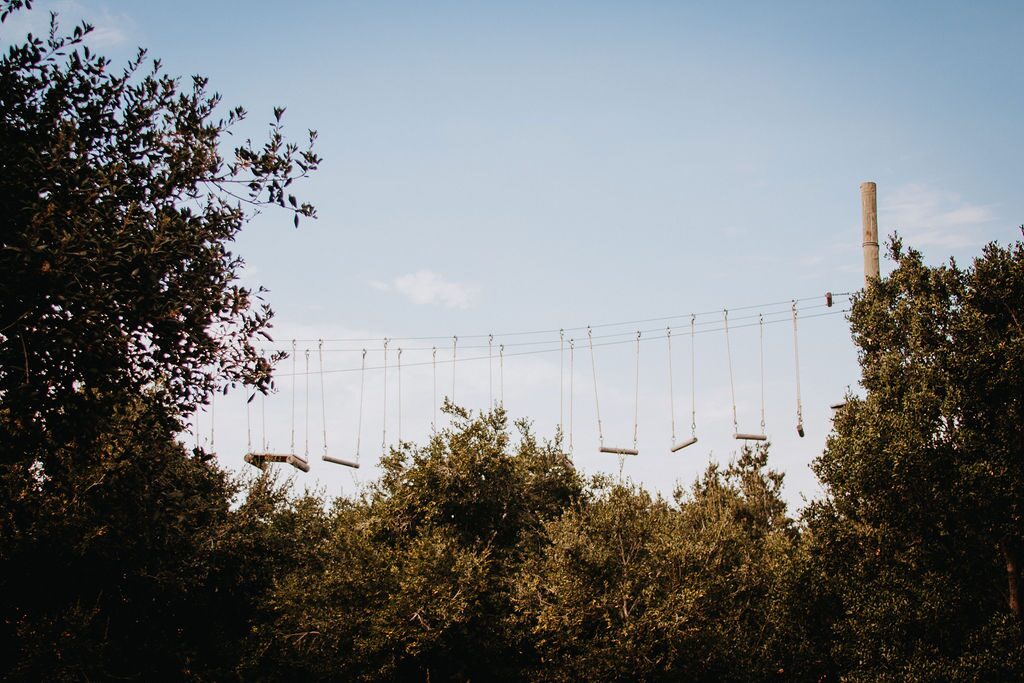
The Adventure Park isn't a single loop. It's a network of 60+ elements — bridges, nets, cables and climbs — built on two levels in the oak canopy at Basecamp, with four routes to choose from that range in difficulty from easy to very hard. You pick a route and work through it at your own pace. Park Rangers fit your harness and helmet, show you the ropes and step in if you need a hand, and the course itself was designed and built with a redundantly fail-safe system and the highest-rated gear.
A trek lasts up to 2 hours and treks start on the hour, so there is time to finish one route and move on to the next. What changes as you climb the difficulty ladder isn't the safety — it's how much balance, grip and nerve each crossing asks of you.
The easiest route
Comfort with the harness, footing on wider elements, time to look around. Where first-timers and families begin.
The middle routes
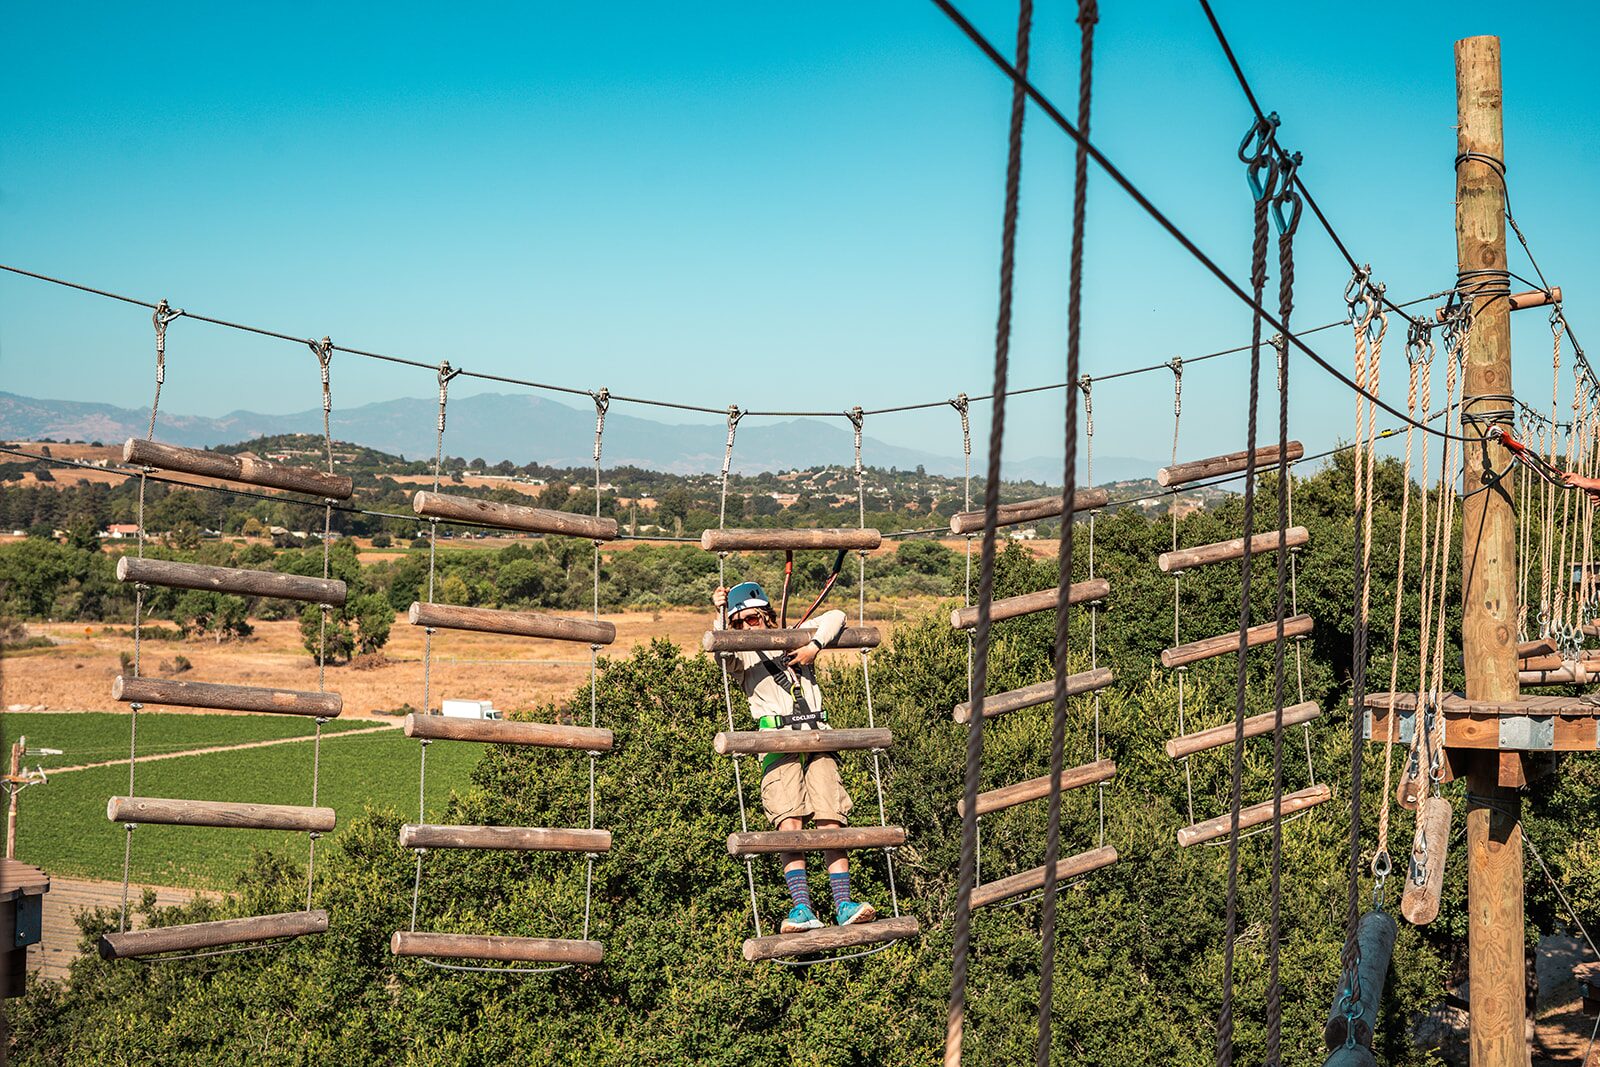
More balance and grip, more exposure. The right first stop for adults who are comfortable with heights.
The very hard route
The top of the ladder. Take it once the others feel comfortable — on this trek or the next one.
Step 1
Start on the Easiest Route
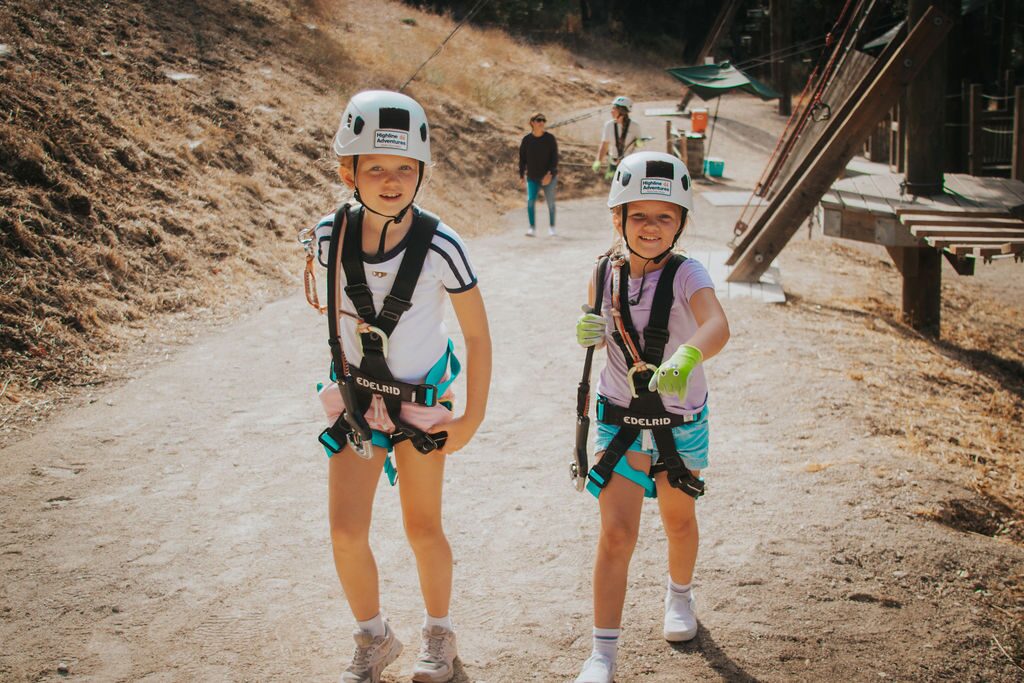
If this is your first time in a harness, start on the easiest of the four routes — even if you're fit and fearless on the ground. It exists to build two things: comfort with the gear and trust in your own balance up in the trees. Take your time, pause on the platforms, and look out over the oaks and the valley; nobody is timing you.
This is also where families start together. The requirements, straight from the FAQ:
- Recommended age 9 and up
- At least 48 inches tall, with a vertical reach of at least 70 inches — kids who can't reach 70 inches overhead need an adult on the course with them (an additional ticket)
- Under 275 lb
- Closed-toe shoes — no Crocs, sandals or flip-flops
- No pregnant guests on the course
Step 2
Move Up to the Middle Routes
Once the easiest route feels relaxed rather than nerve-wracking, step up. Expect the middle routes to ask more of your balance and your grip than your footwork alone — this is where gloves earn their keep (bring your own or pick up a pair at Basecamp) and where a short breather on a platform between elements pays off.
If you're an adult who is comfortable with heights, a middle route is a reasonable place to start your first visit: a real workout that doesn't require any climbing or obstacle-course experience. Kids and anyone newer to heights get more out of the day by graduating up from the easiest route first.
Step 3
Earn the Very Hard Route
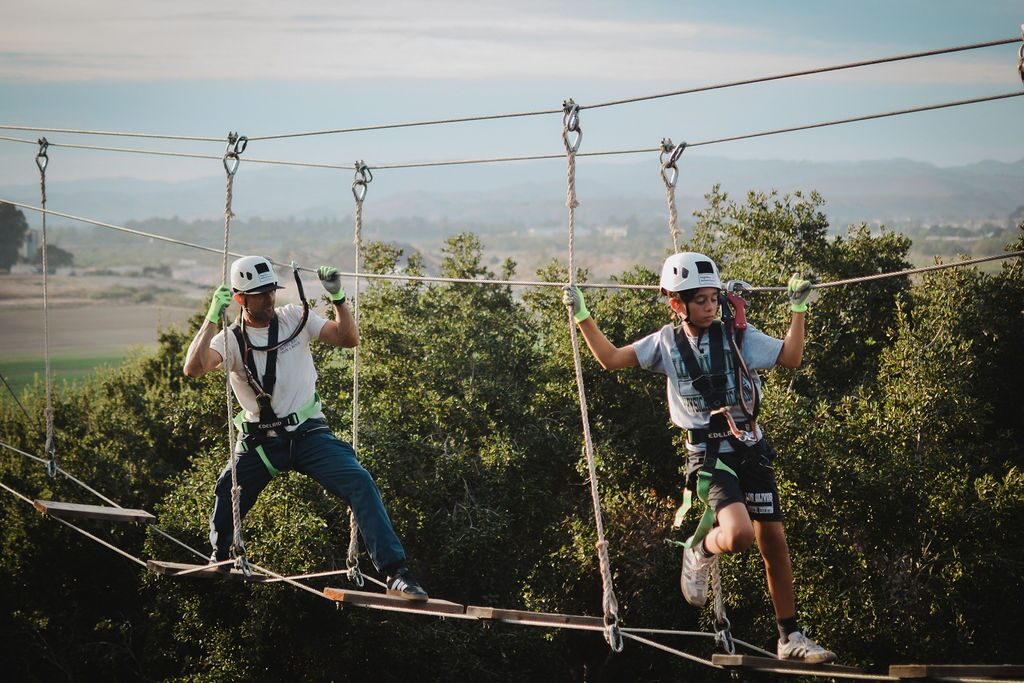
The hardest of the four routes is not meant to be a first stop. It assumes the balance, grip endurance and head for height that the other routes build, and it rewards commitment over hesitation — the crossings go better when you move with purpose than when you stall halfway. The moment you pause, reset and push through anyway is the one worth coming for.
If you don't get there in one two-hour trek, that's normal. Make it a return-visit goal — which is exactly what the Adventure Park 10 Punch Pass is for (details below).
Make the climb easier
Tips for a Smooth Progression
A few habits make moving up the routes easier, whatever your starting fitness or experience:
- Don't skip the easiest route, even if you're confident. The gear habits and balance you build there carry through every route above it.
- Grip matters more than you'd think. Gloves are recommended — bring your own or buy a pair at Basecamp — and short breaks between elements keep your forearms fresh on the harder routes.
- Dress as if you're going for a hike. Closed-toe shoes are required; pants or longer shorts are more comfortable in a harness; tie long hair back and leave loose accessories and dangly jewelry in the car.
- Arrive 10–15 minutes early and sign the waiver ahead of time from the link in your confirmation email. Phones only go up with a lanyard (rent or buy one at the front desk); there are baskets at Basecamp for everything else, and no restrooms on the course.
- Pace yourself across the two hours. Water is provided and treks start on the hour, so plan meals around your slot. Watch the guest ahead of you — each element has a rhythm, and seeing someone else cross it first makes your own crossing easier.
Who it suits
Who the Adventure Park Is Built For
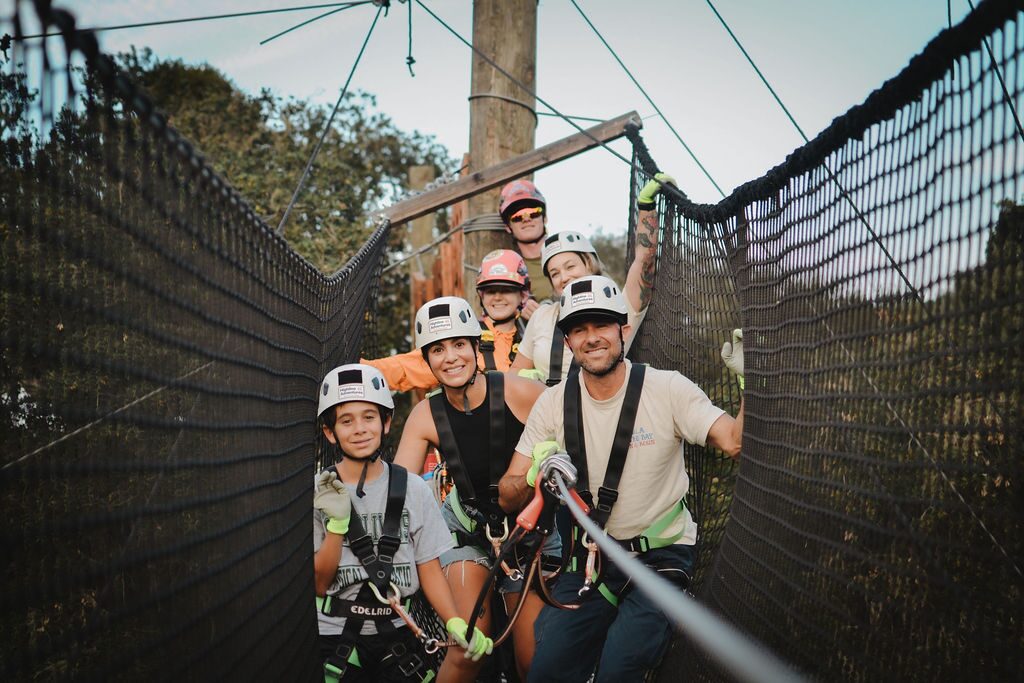
Because the course is split into routes rather than one-size-fits-all, it works for a wider range of guests than a single-difficulty ropes course. Families can split up by comfort level and regroup on the platforms. Teens and adults chasing a real physical challenge can head for the harder routes. And first-timers of any age have an achievable starting point instead of being thrown onto something built for experienced climbers.
It's a different kind of day from the Zipline Tour — slower, more deliberate, and built around your own pace rather than a guided ride down three dual ziplines at 50+ mph — which is why so many guests book both. Booked together, the zipline and Adventure Park bundle takes 15 % off both.
For return visits
The Adventure Park 10 Punch Pass
10 tickets for the Adventure Park, usable for all guests within a reservation. No blackouts, reservations required. Expires 1 year from purchase date.
That makes it the natural way to work up the routes over several visits — or to bring friends and family along on a single reservation. Price is shown at checkout.
Plan your visit
Getting to the Adventure Park — and What Else Is on the Ranch
The Adventure Park is at Highline Adventures' Basecamp, 700 E Hwy 246, Buellton, CA 93427 — just east of Buellton on Highway 246, between Buellton and Solvang in the Santa Ynez Valley. Check directions before you go, read the FAQ for anything else, and leave room in the day for the ranch's other adventures:
Skynet Playground
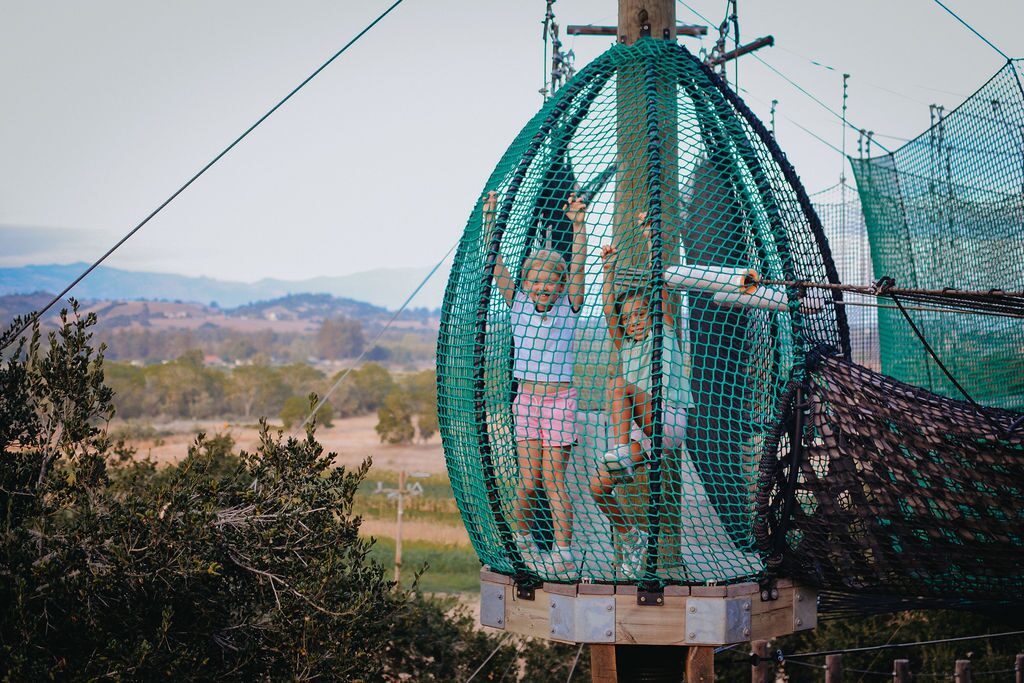
A harness-free net playground suspended in the oaks for explorers ages 2+ — kids $20, adults $10 — right beside the Adventure Park.
Explore Skynet →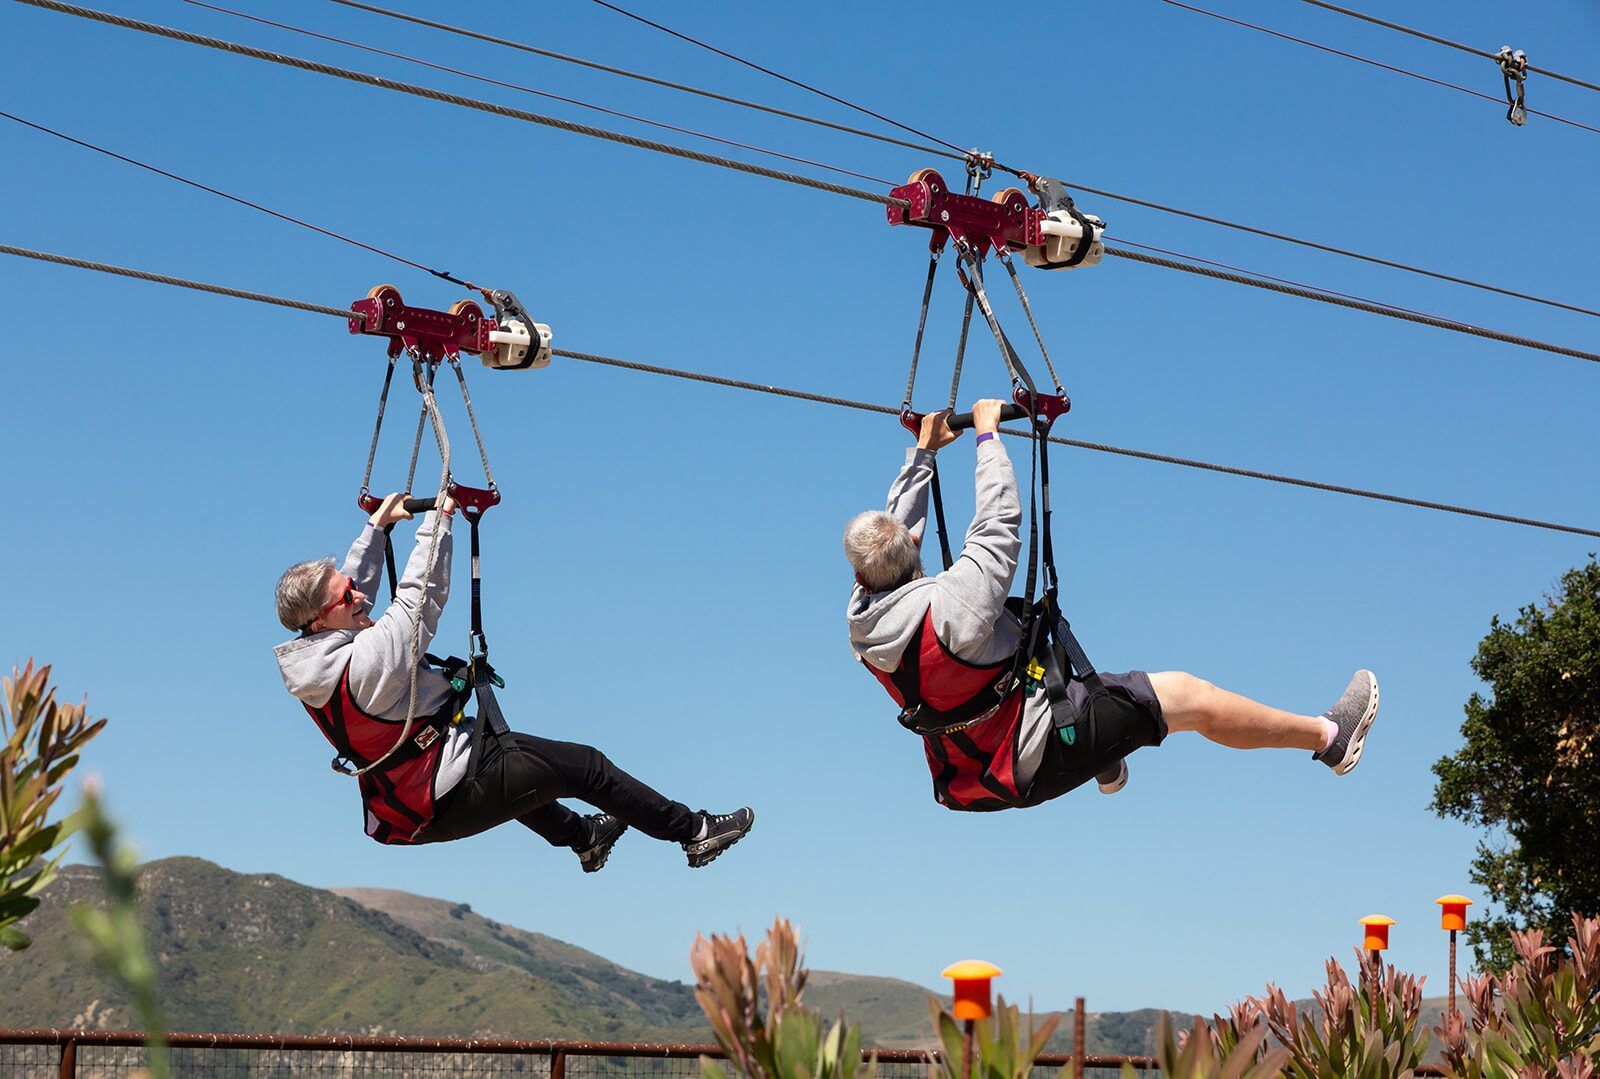
Zipline Tour
Three dual ziplines over a mile and a half of cable at speeds up to 50+ mph, from $139 per person depending on the date. Bundle it with the park for 15 % off both.
See the zipline tour →
Moonlight Zipline
The same three lines after dark, on the nights around the full moon — $175 per person.
See the dates →Adventure Park FAQ
Frequently Asked Questions
What are the Adventure Park requirements?
- Recommended age 9 years+
- MUST be 48 inches (4 ft) (121.92 cm) tall with a vertical reach of at least 70 inches (5.8 ft) (177.8 cm)
- MUST weigh less than 275 lbs (125 kg)
- MUST wear closed toe shoes
- No pregnant peoples permitted on the course
When should I arrive?
PLEASE ARRIVE 10-15 MINUTES EARLY. If you are running late, we will do our best to accommodate you on another tour that same day, depending on availability. However, if we are unable to accommodate no refunds will be issued.
Do I have to sign a waiver?
All participants must sign a waiver prior to starting an activity. We recommend signing prior to arrival by following the link in your confirmation email. Alternatively, arrive onsite early to sign at Basecamp.
Can I bring my phone or camera on the course?
There will be plenty of opportunities for photographs throughout the tour. Due to the high risk that personal devices will be dropped and/or broken, we have universal lanyards available for rent or purchase at the front desk. Without a lanyard we HIGHLY recommend leaving your device in your vehicle. Staff will be unable to retrieve devices left behind. Cameras are only permitted if using a neck strap attachment. Highline Adventures is not responsible for lost, stolen, broken, or damaged personal property.
Where can I leave my belongings?
There are baskets available at Basecamp for guests to leave personal belongings in to avoid the risk of losing or damaging items like phones, keys, wallets, purses on the tour.
Are there restrooms on the course?
There are no restrooms on the course or up in the hills, so checking in early and taking care of business at Basecamp is highly recommended.
What is your cancellation policy?
All sales are final. Cancellations made at least 48 hours in advance are eligible to be rescheduled or receive store credit for a future booking. Bookings can be transferable. For more info please visit our cancellation policy page.
More answers on the full FAQ page · groups and parties via group adventures · directions to the ranch.
There's always a next route
Start easy. Move up. Come back for the hard one.
Whether you're starting on the easiest route with the kids or coming back to finally finish the very hard one, the Adventure Park's two levels and four routes mean there is always a next challenge waiting in the oaks. Treks last up to 2 hours, start on the hour, and run from $64 per person depending on the date.